Skip to content
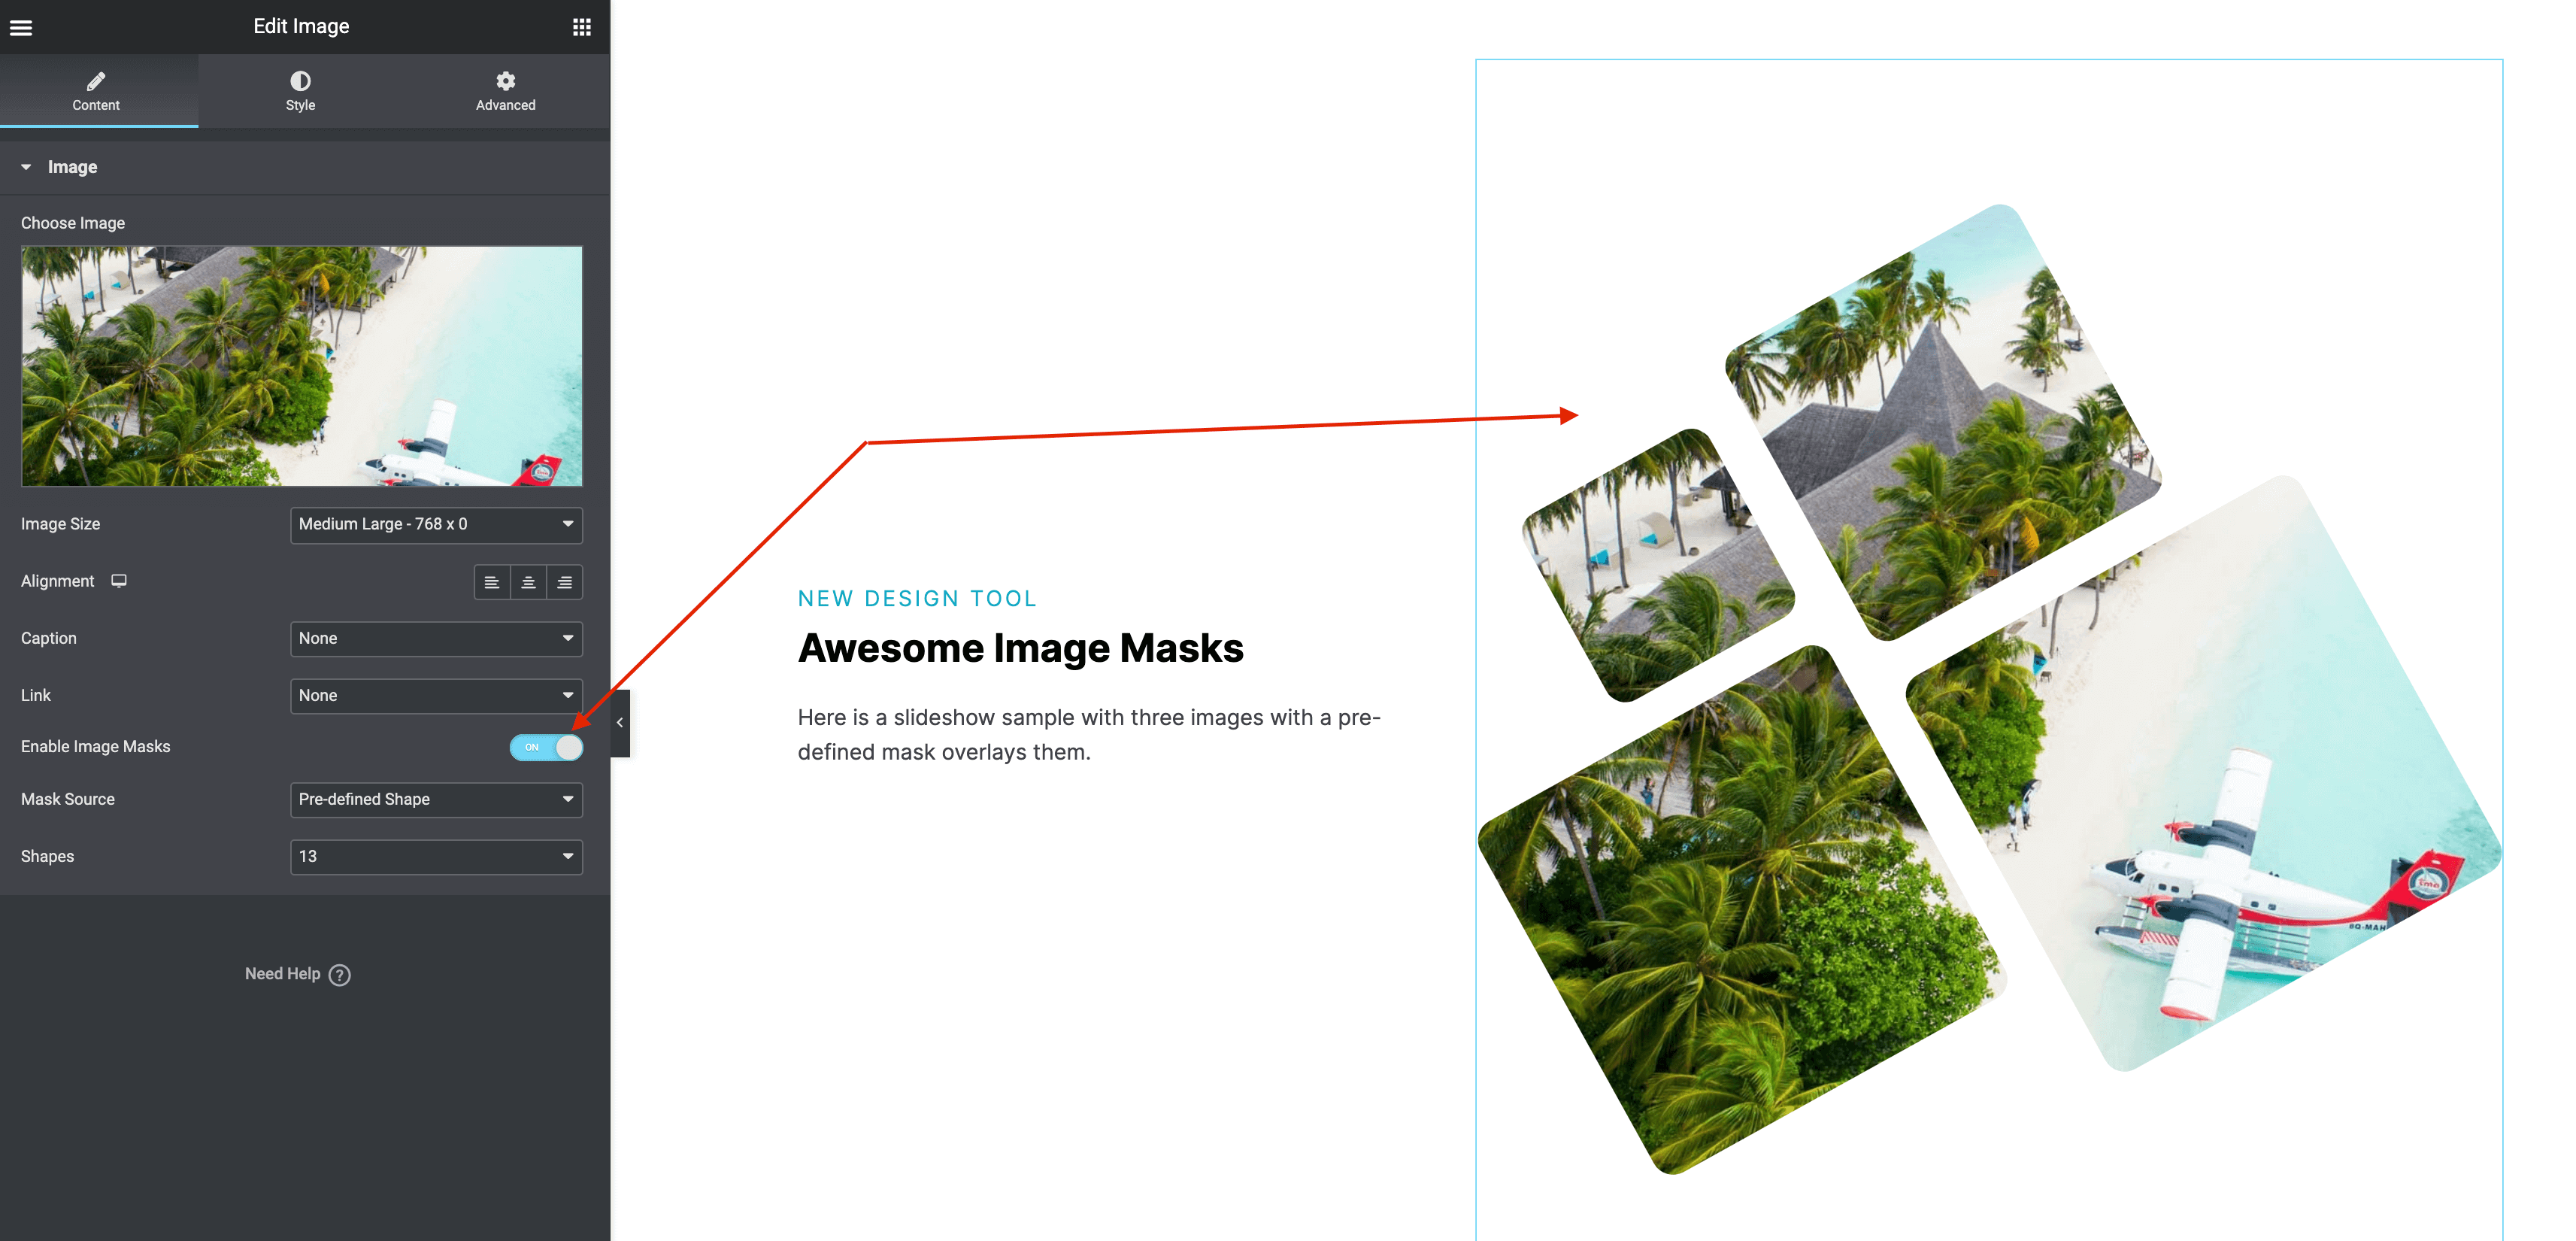
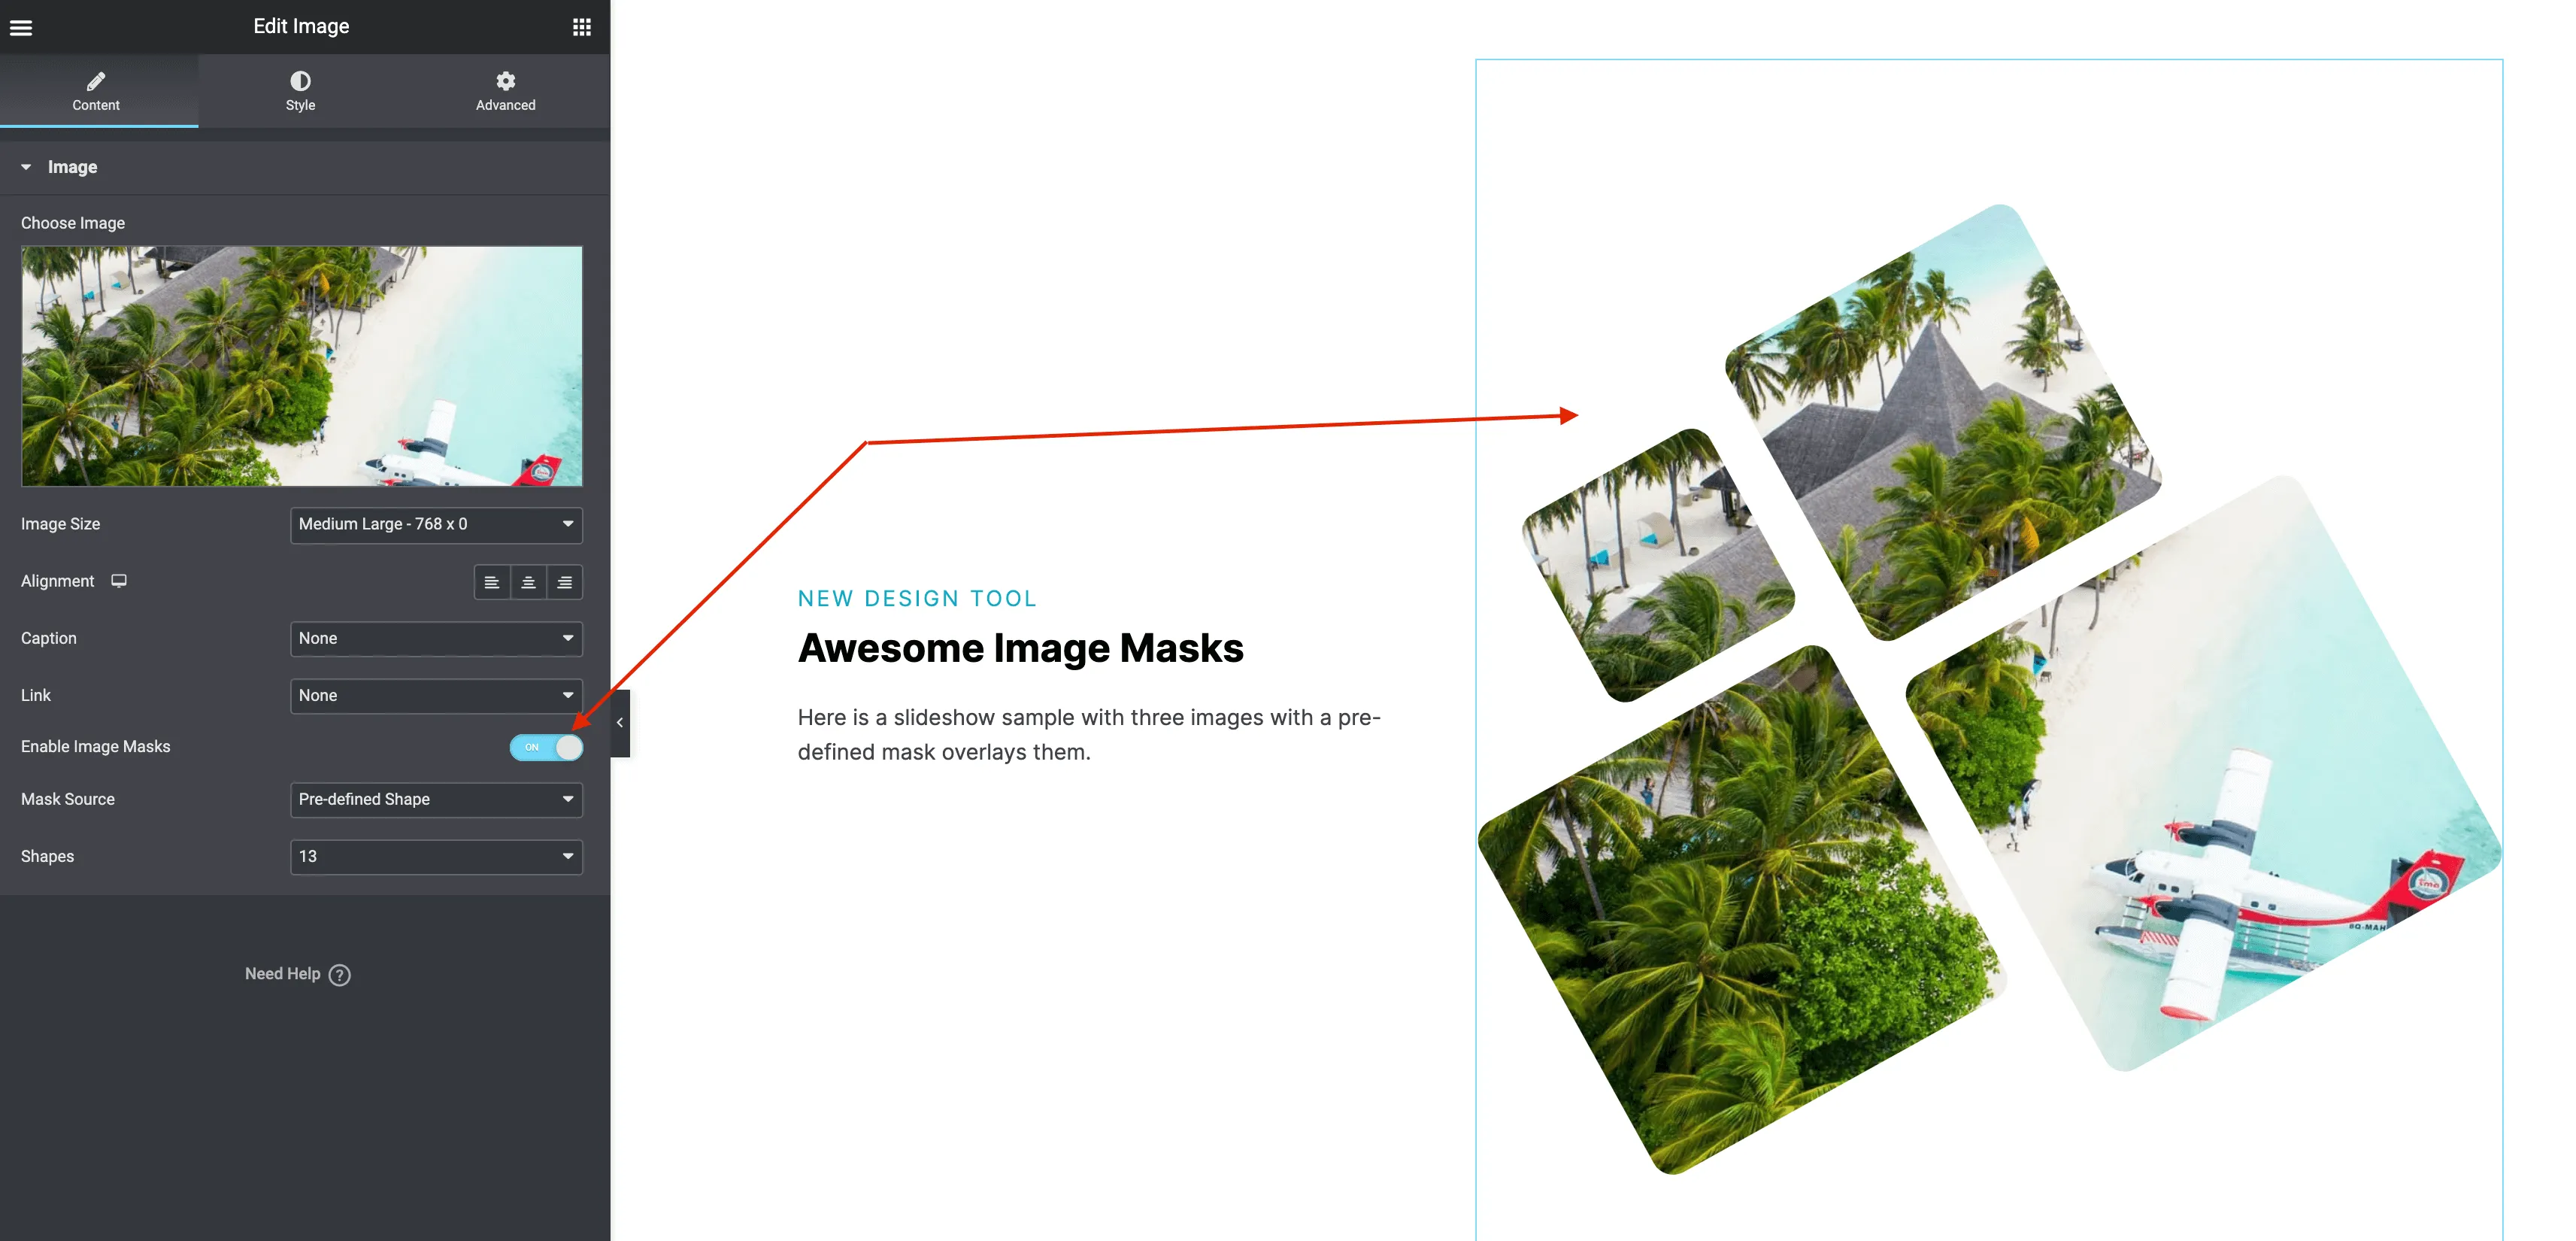
- Use image effects (masks) to create a stylish image without opening your image editor like Photoshop.
- There are pre-defined shapes available to use with any image you want.
- If you want to use your own mask, change the “Mask Source” to upload a custom mask image. Mask images must be PNG or SVG and should contain transparent and filled areas. The filled (with any color) areas of your mask image will show the image, and the transparent areas will be masked.
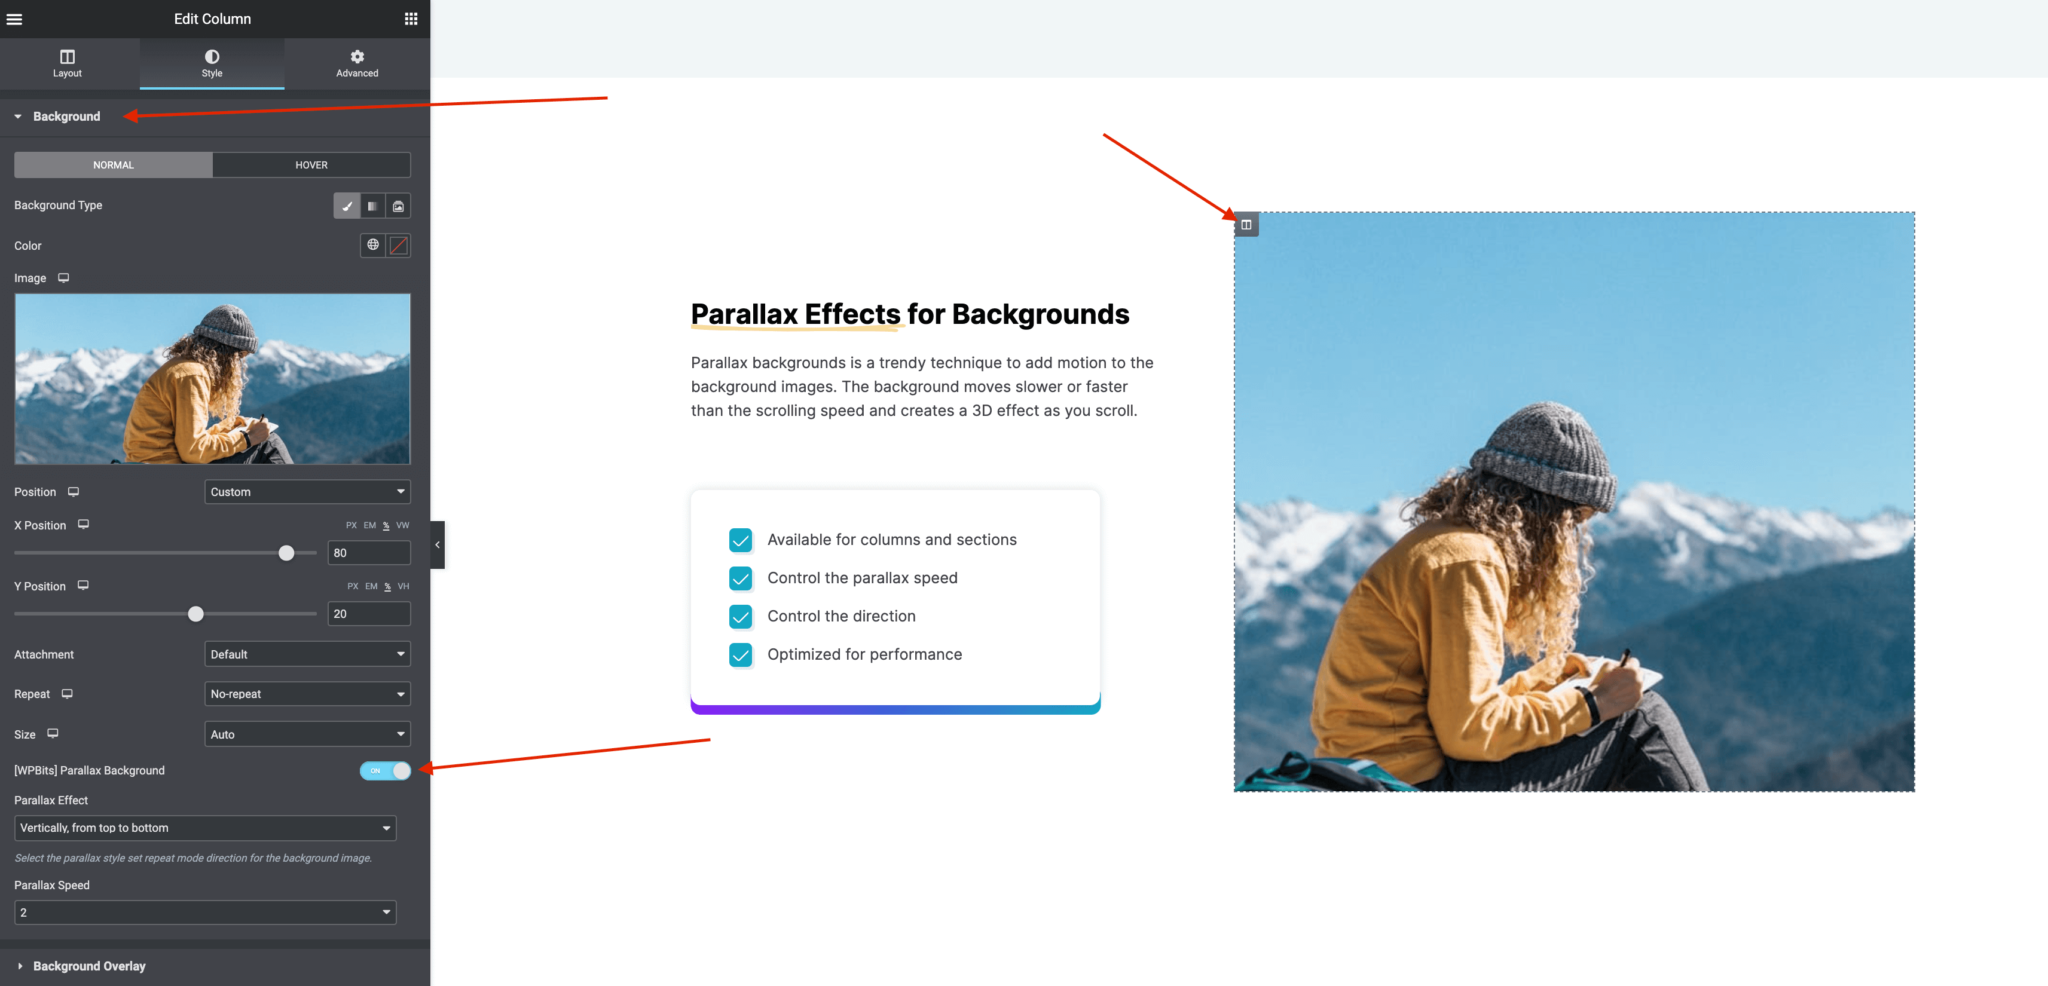
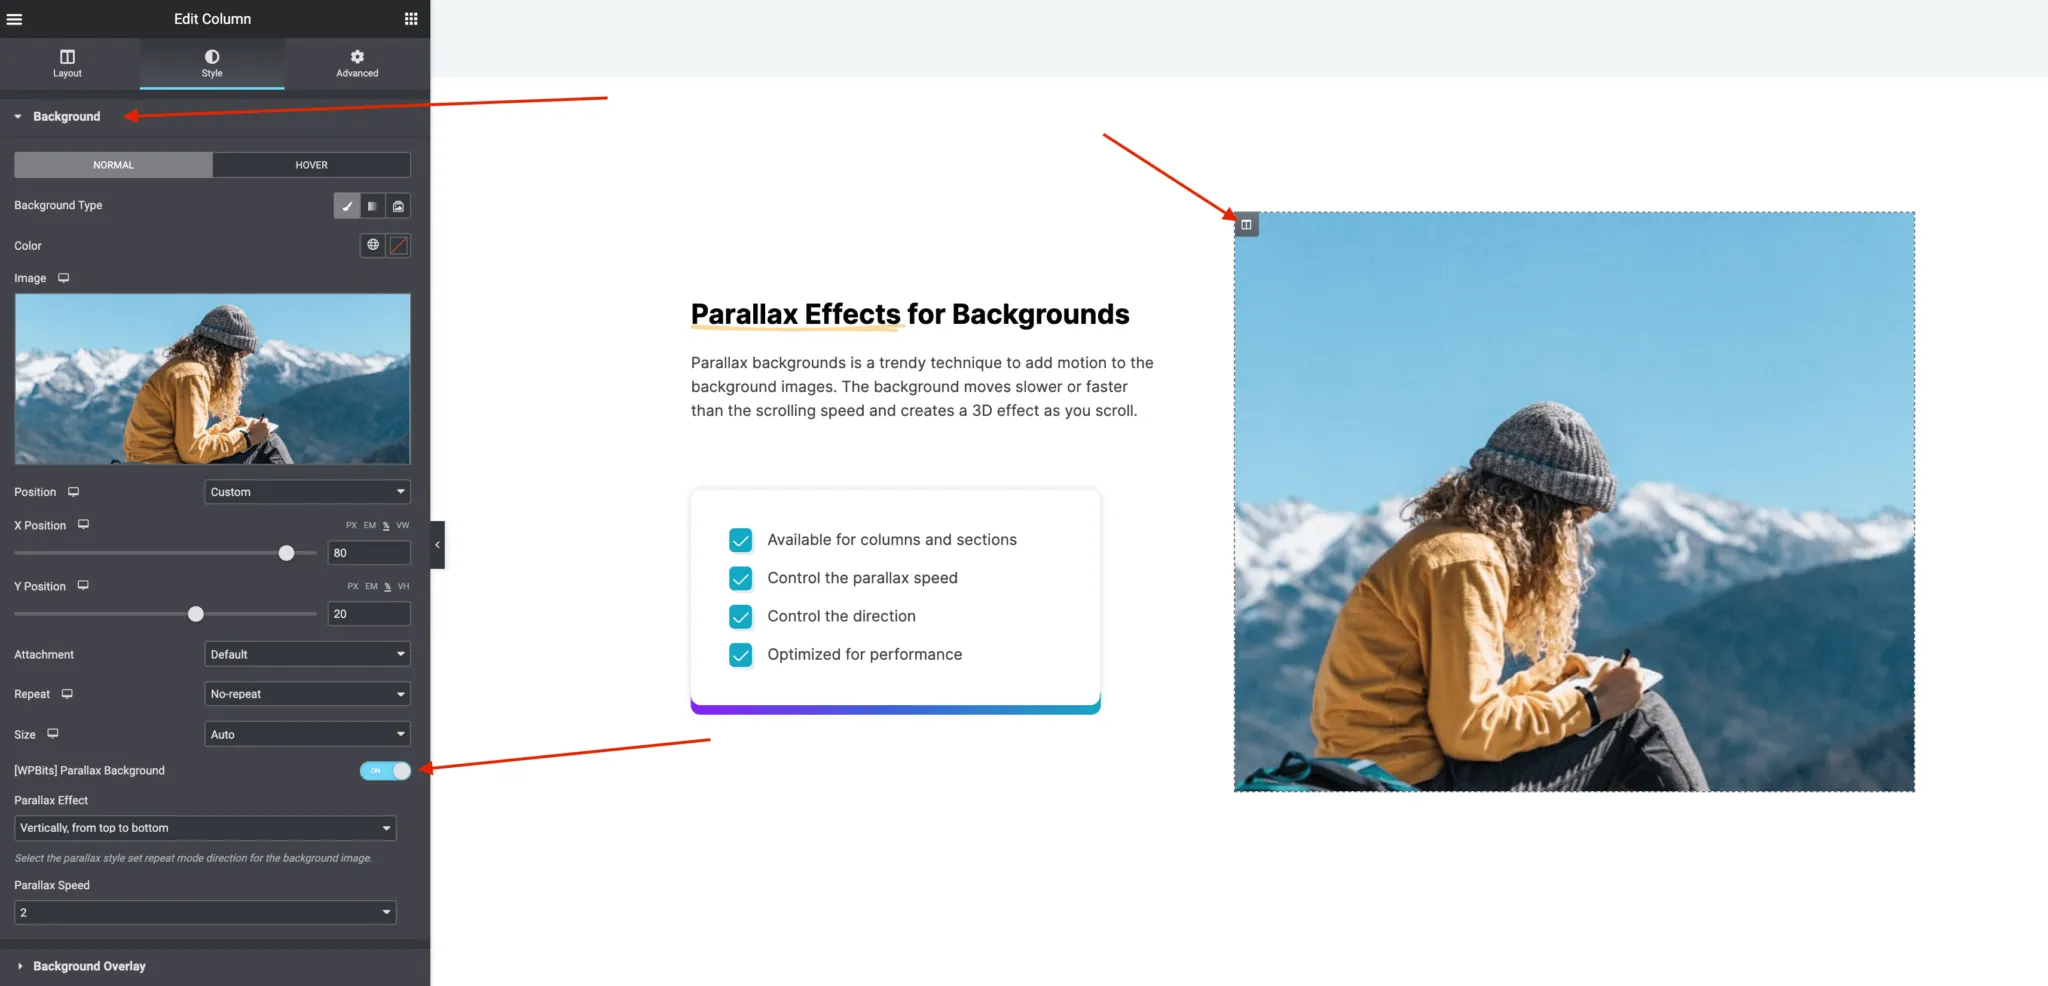
- Select a column or a section element and click the “Style” tab of the Elementor panel.
- Enable the feature by using the [WPBits] Parallax Background checkbox under the “Background” section.
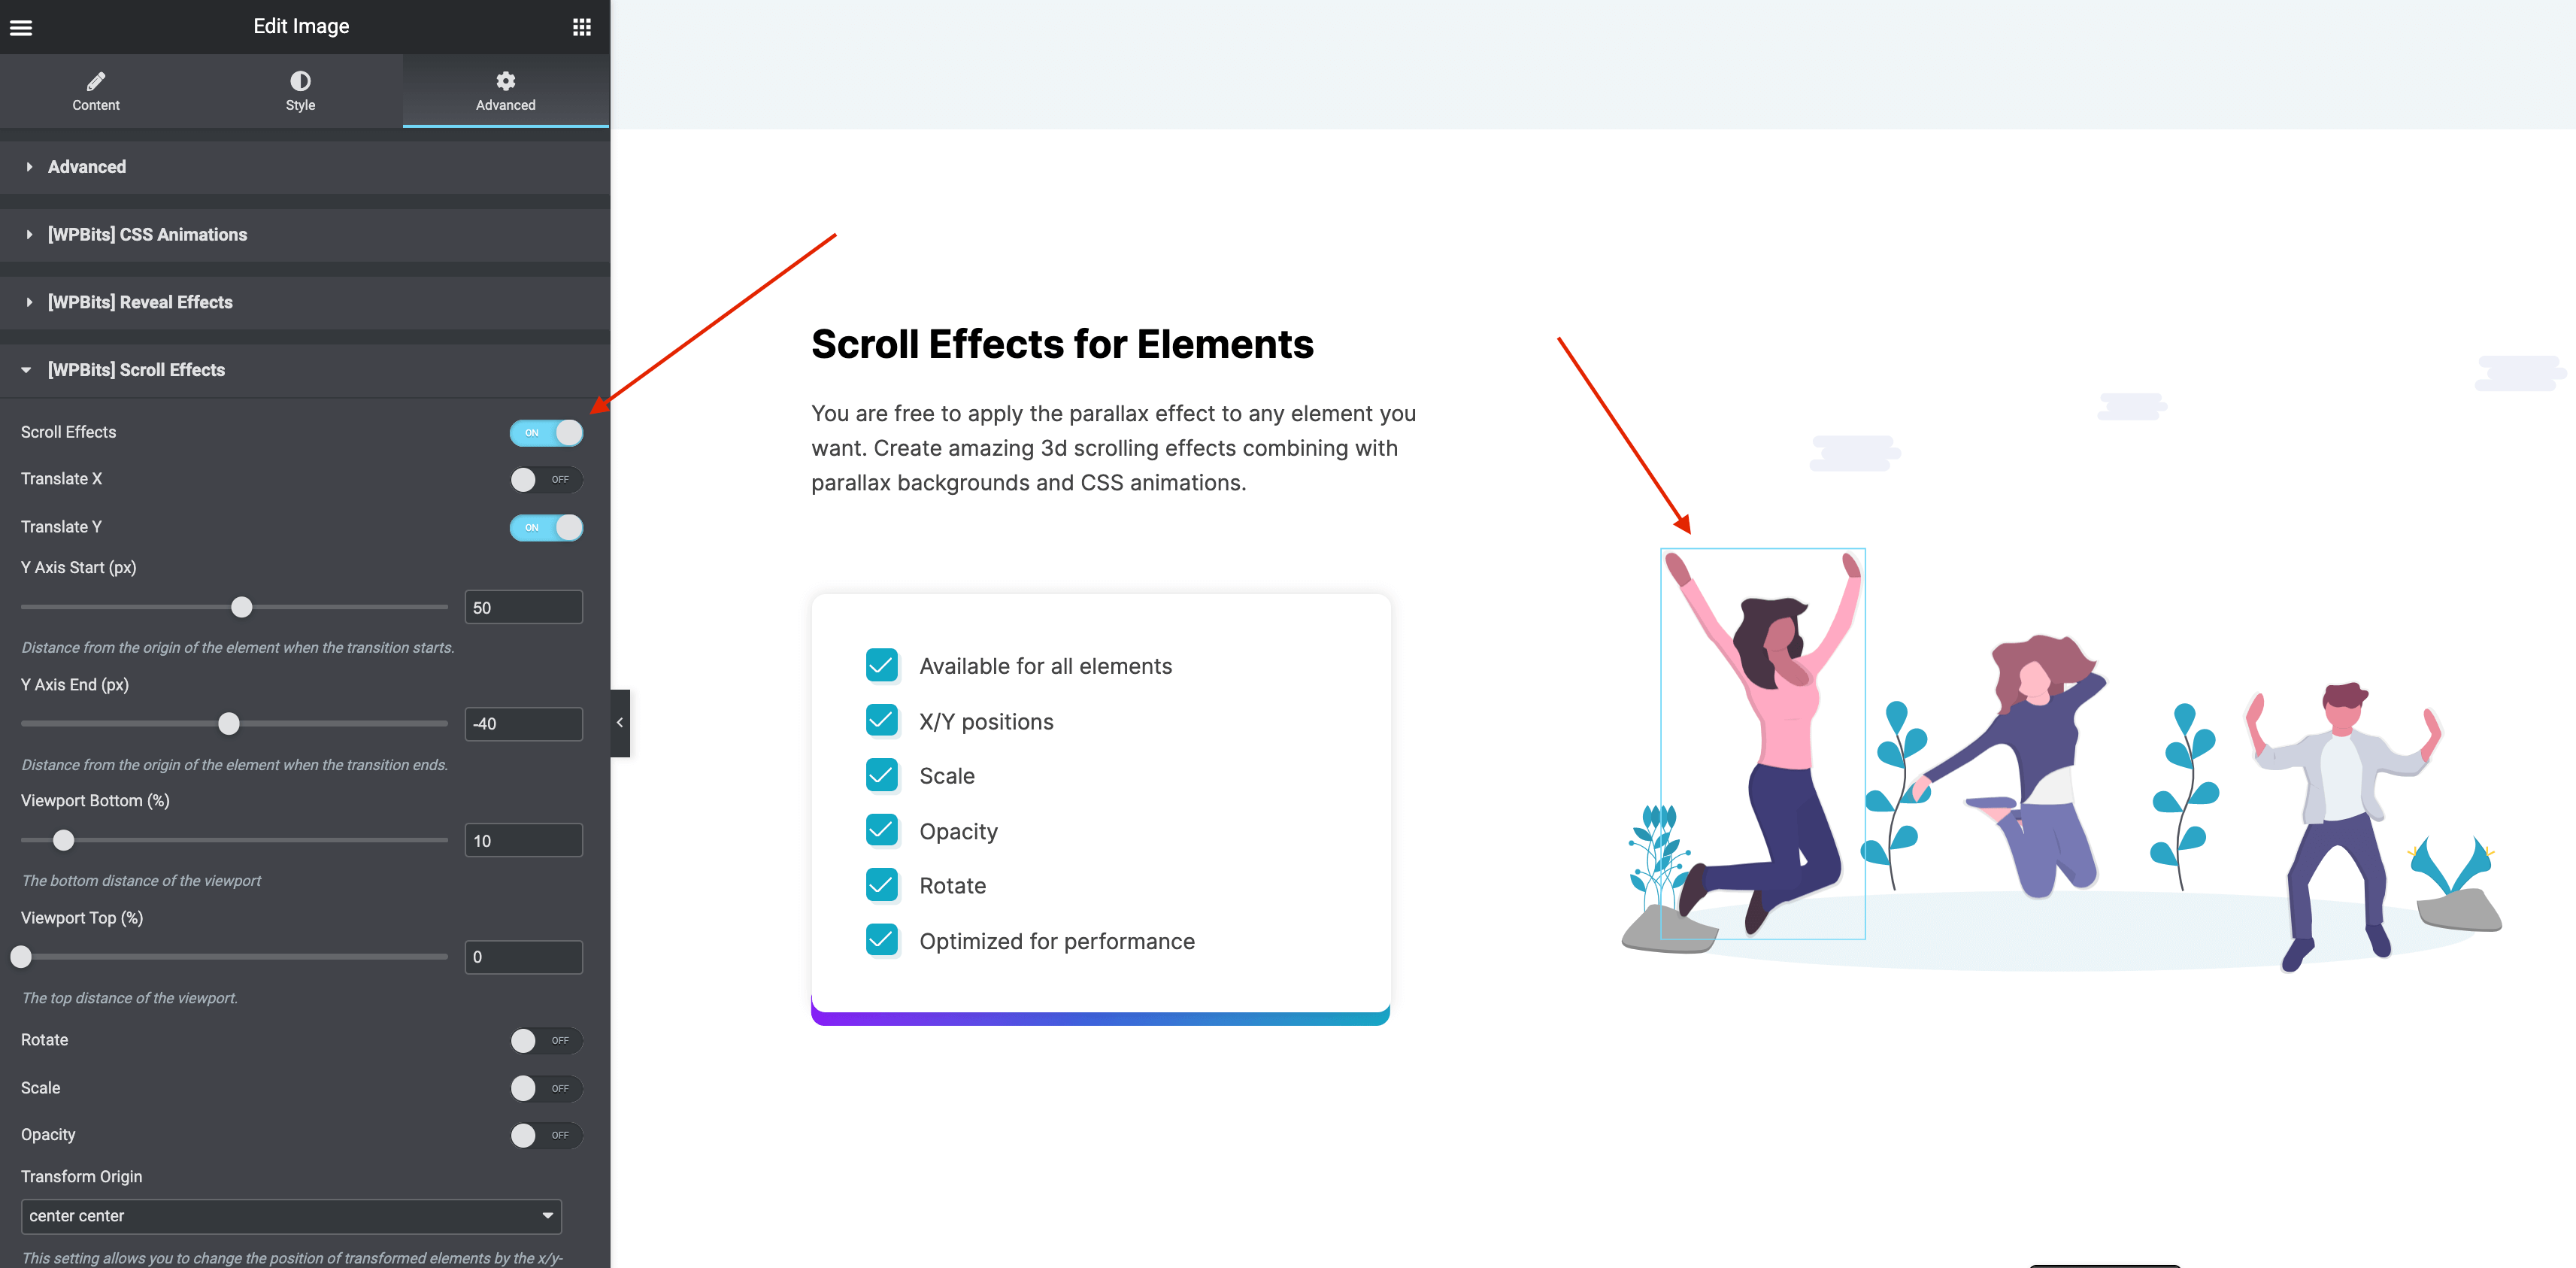
- Select an element and click the “Advanced” tab of the Elementor panel.
- Enable the feature from the [WPBits] Scroll Effects section.
- Give start and end values based on the scroll position of the browser window.
- Activate one of the transformation effects then customize the start/end values of the effect between the given viewport. Viewport defines when the effect is going to be performed between the given values. For example, if you want to start the effect when the item appeared and end when disappeared, then leave the viewport bottom and top values “0”. Or, you may want to start the effect a while later when the item first appeared on the screen. In this case, you need to increase the Viewport Bottom value.
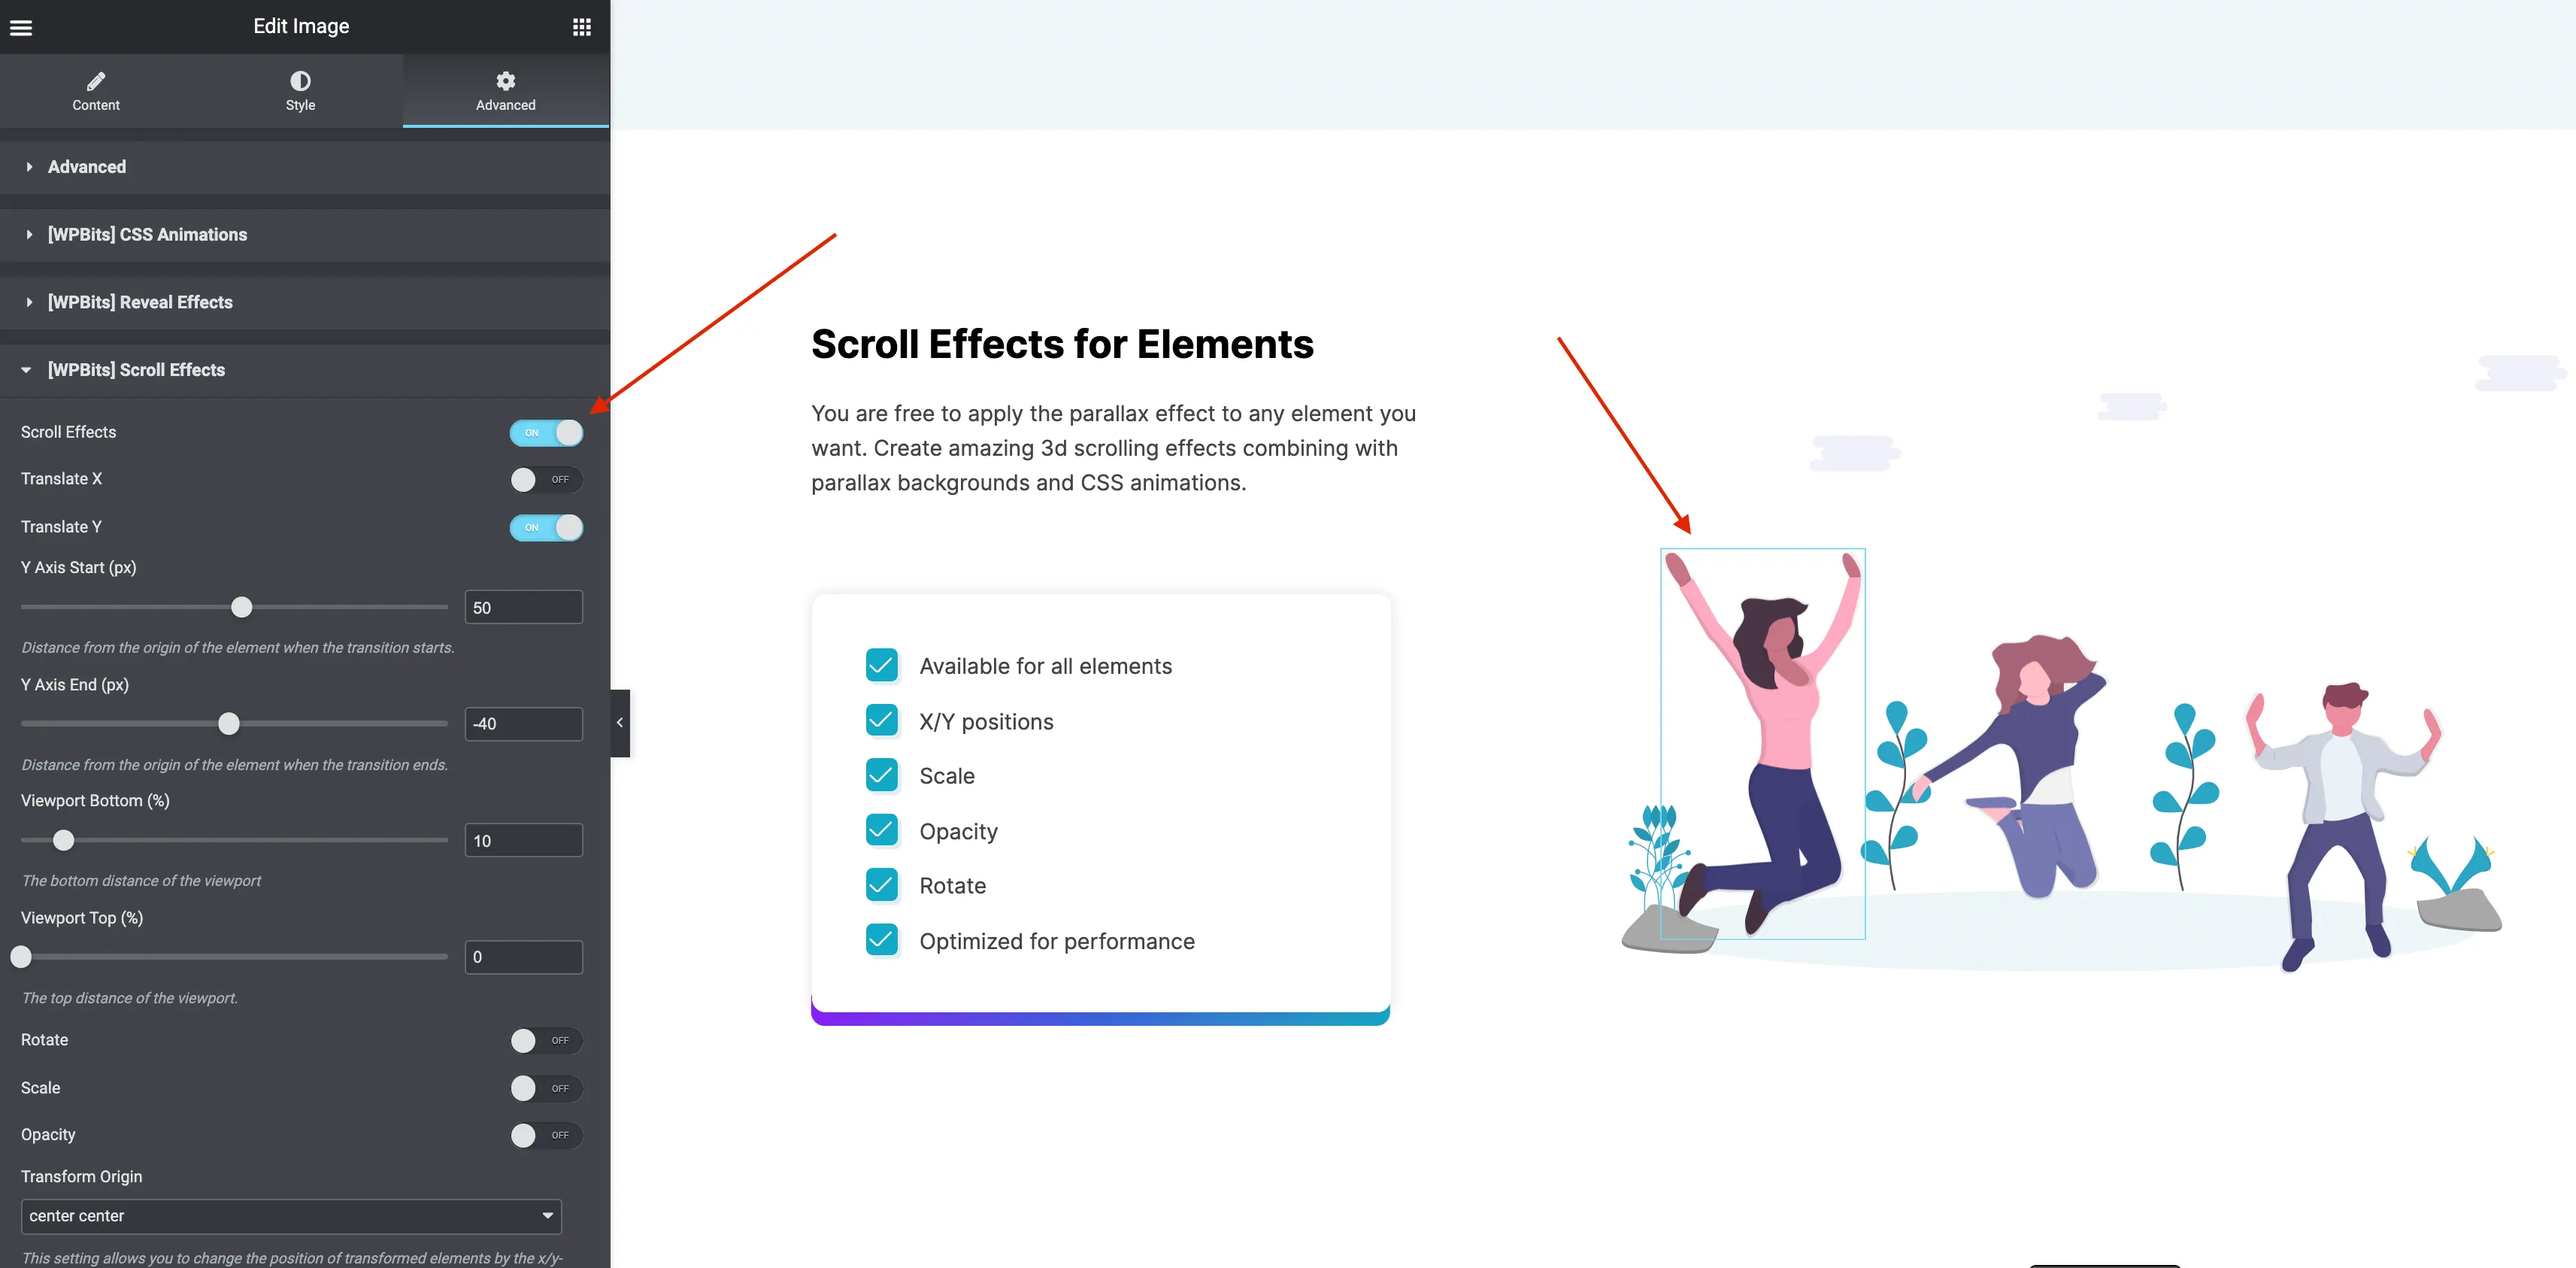
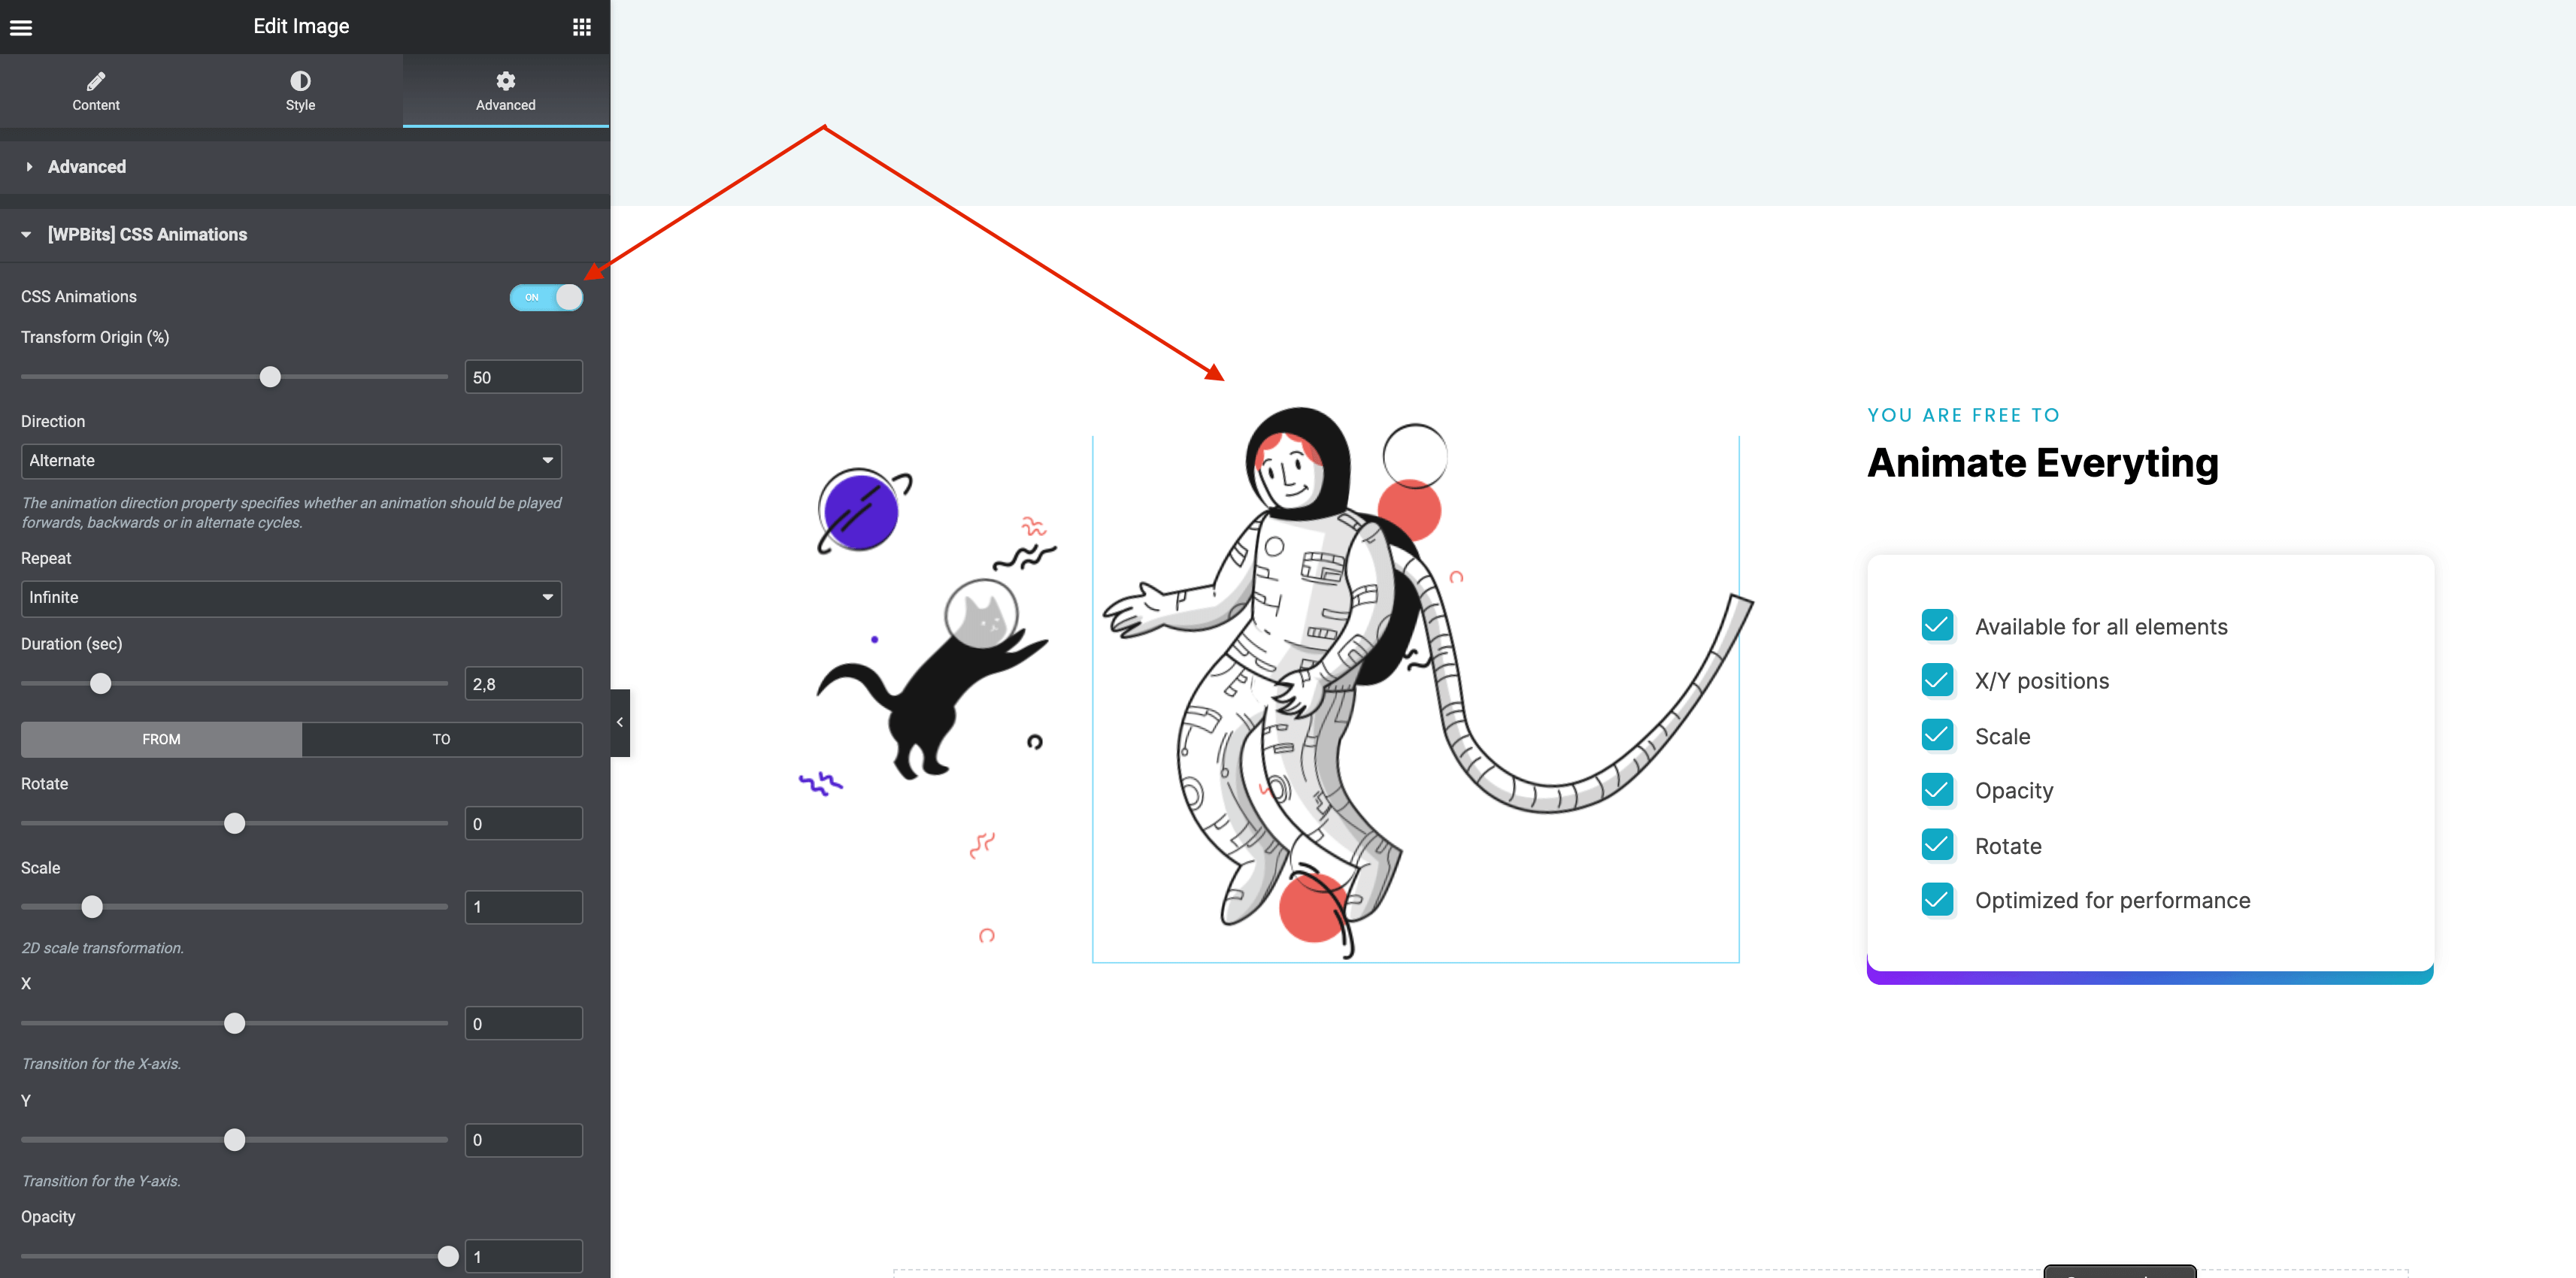
- Select an element and click the “Advanced” tab of the Elementor panel.
- Enable the feature from the [WPBits] CSS Animations section.
- Give start and end values to the animation under the “From” and “To” tabs.
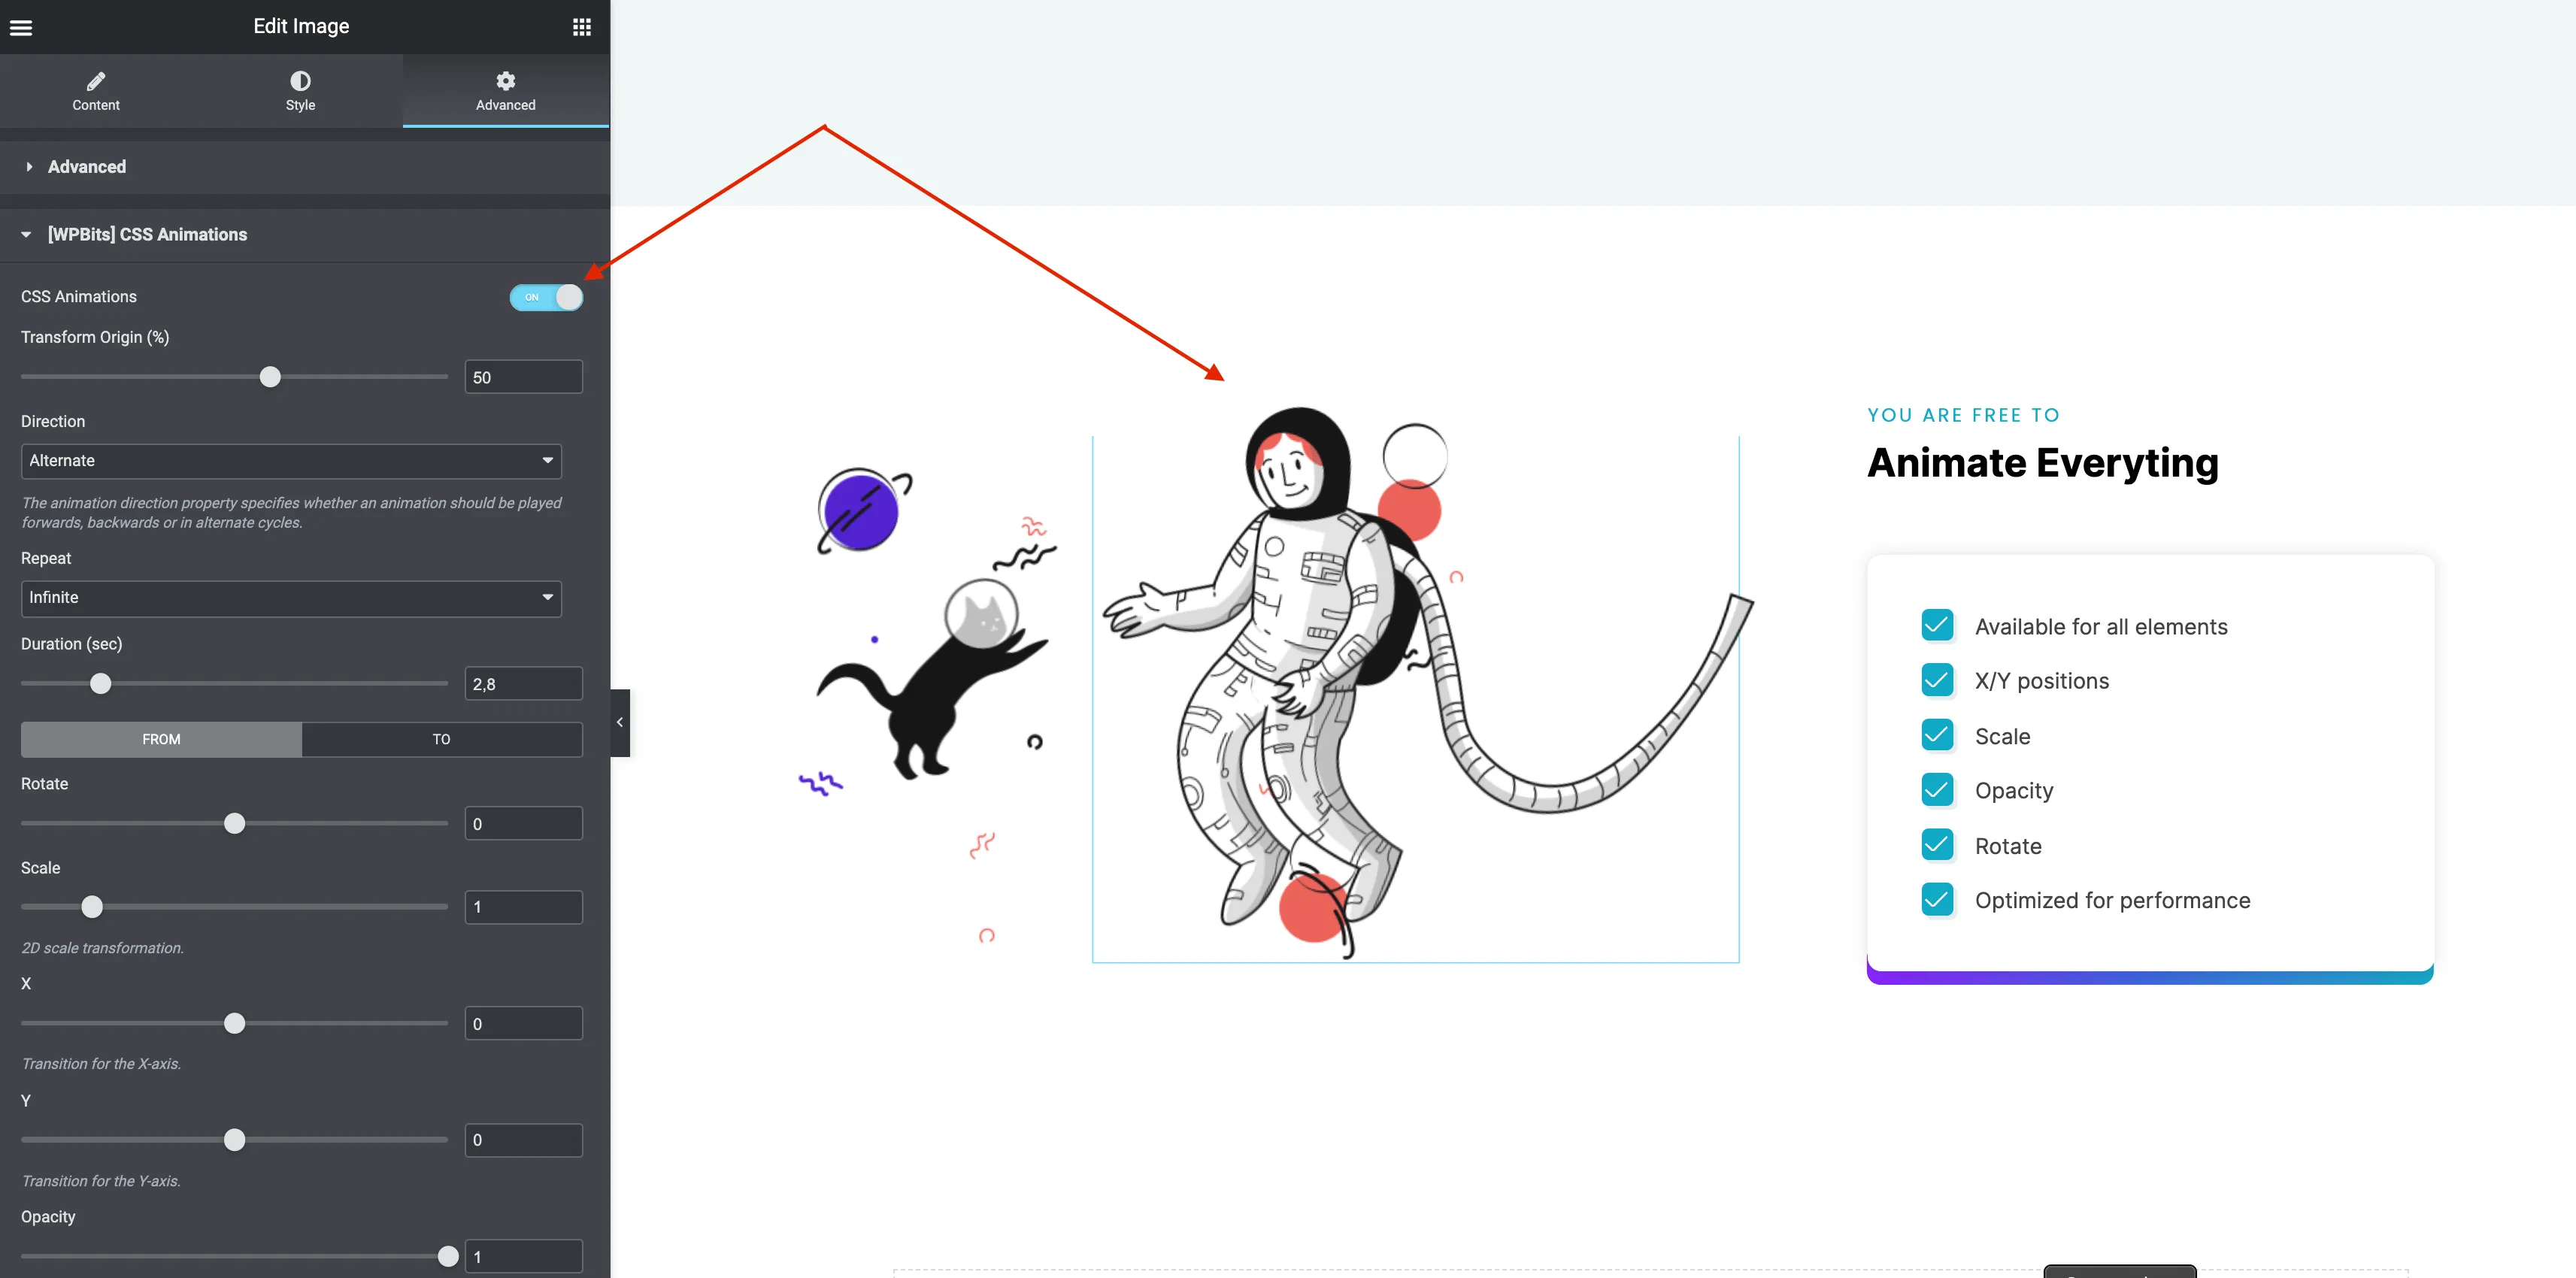
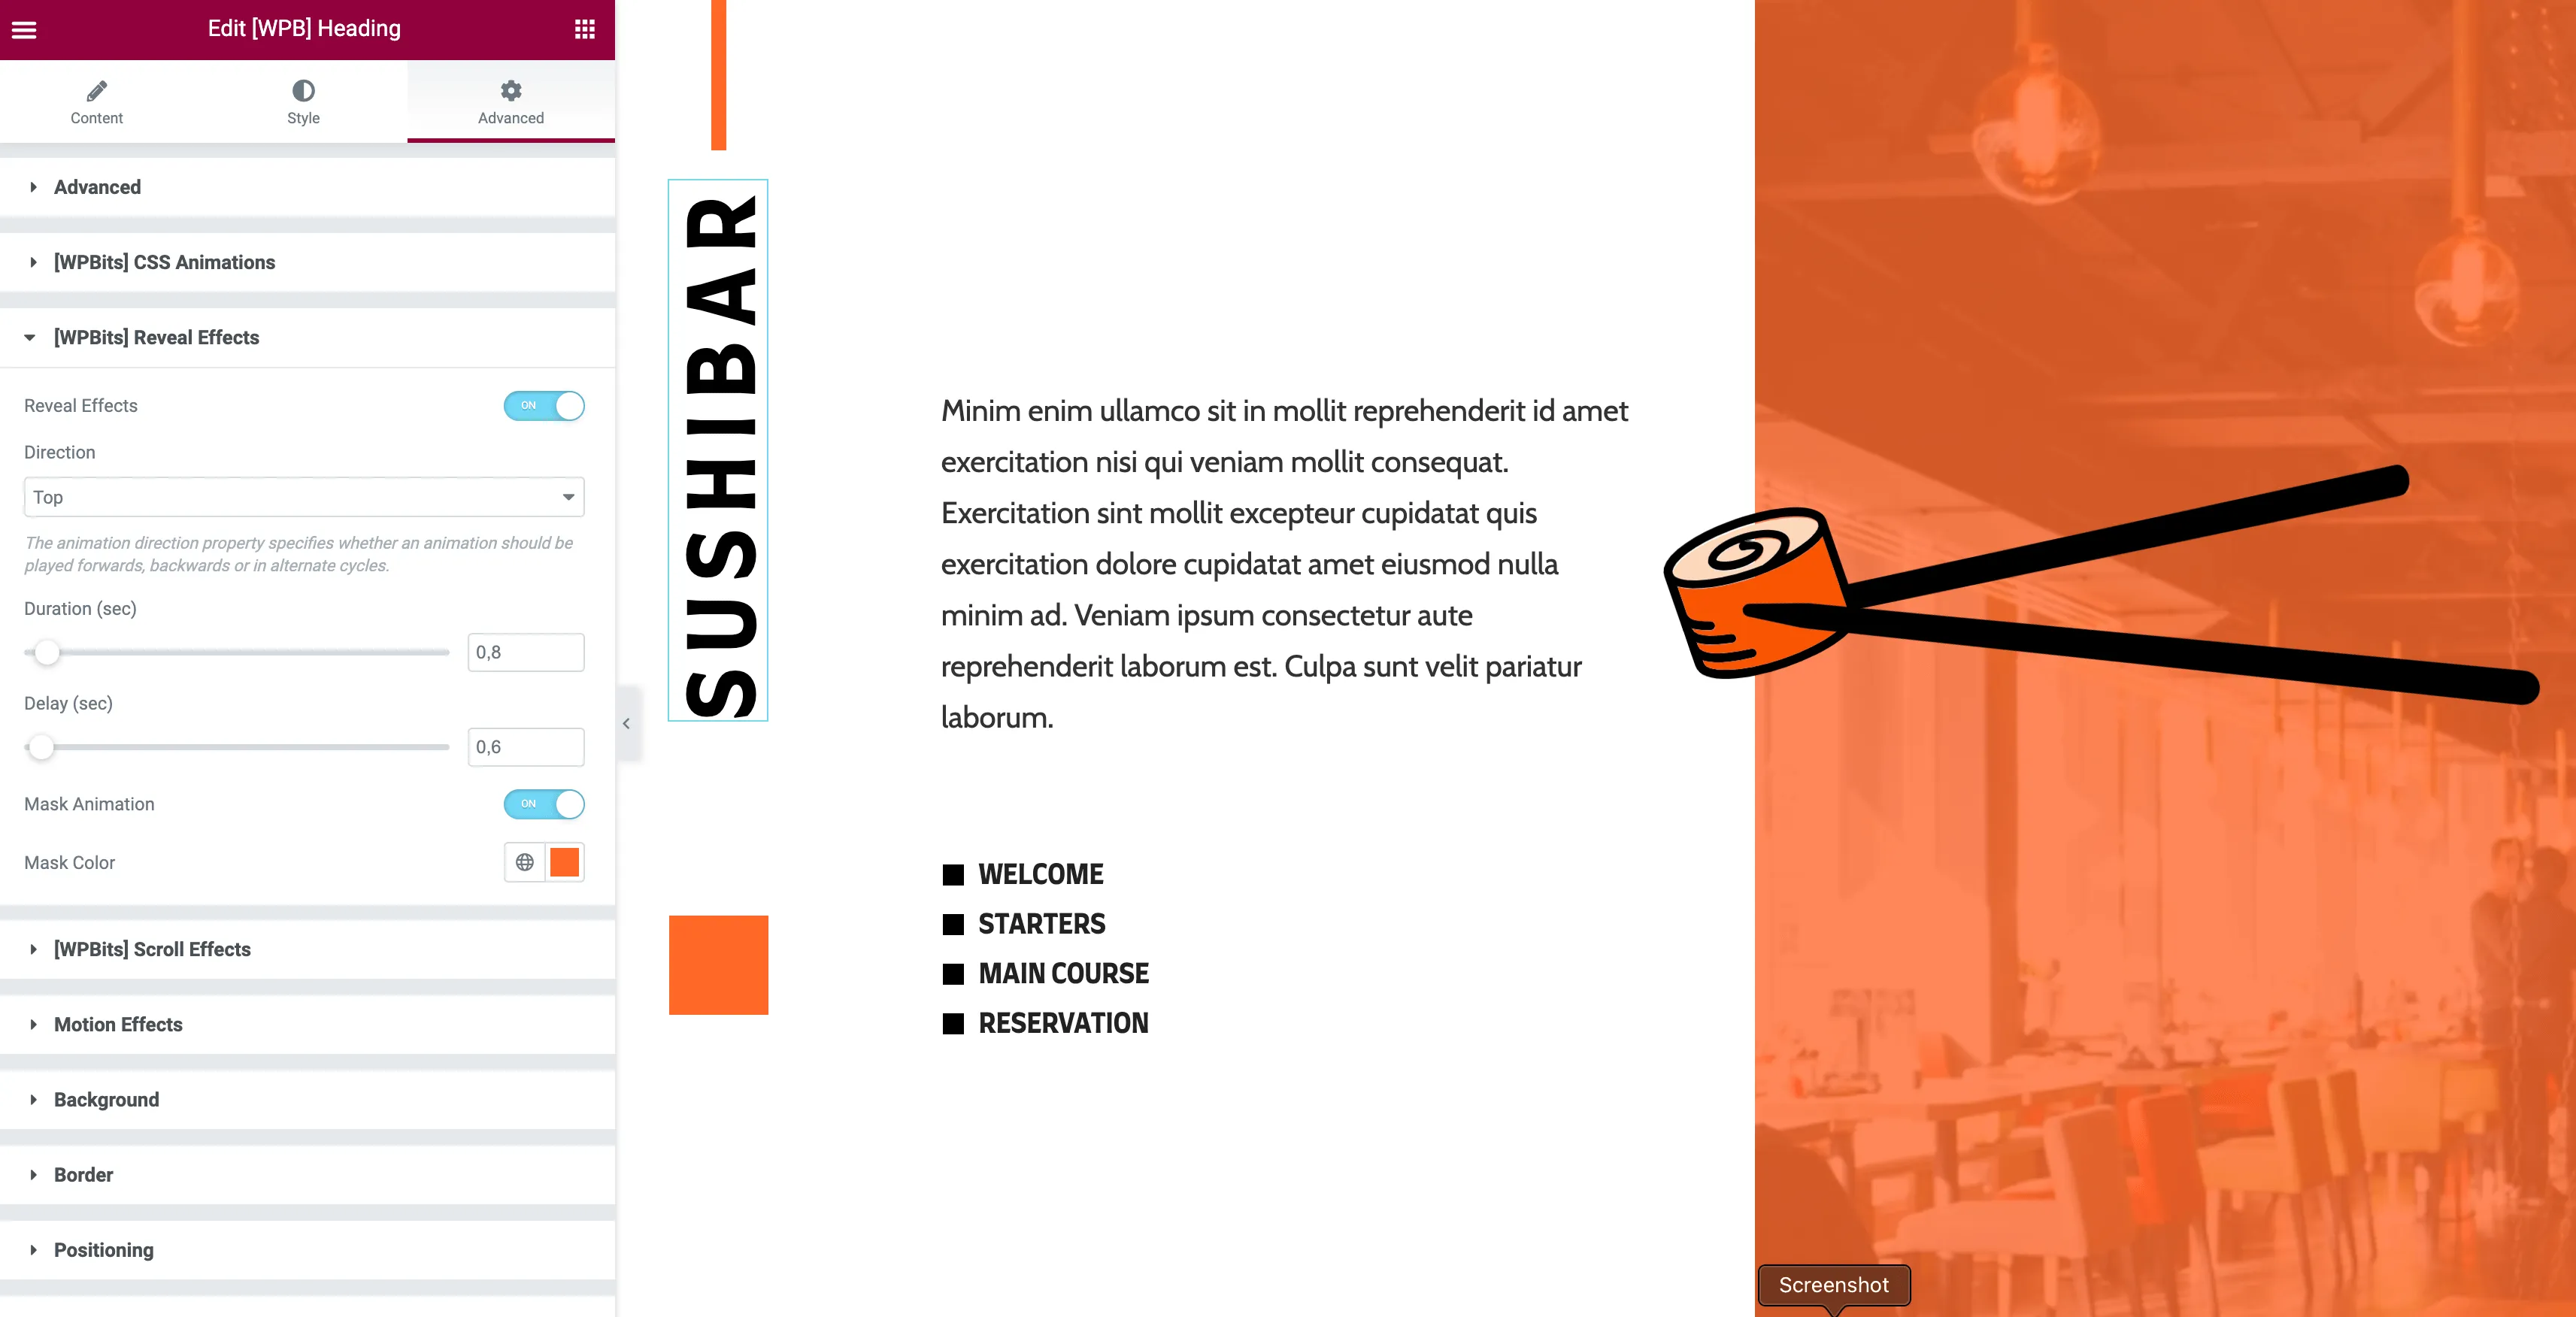
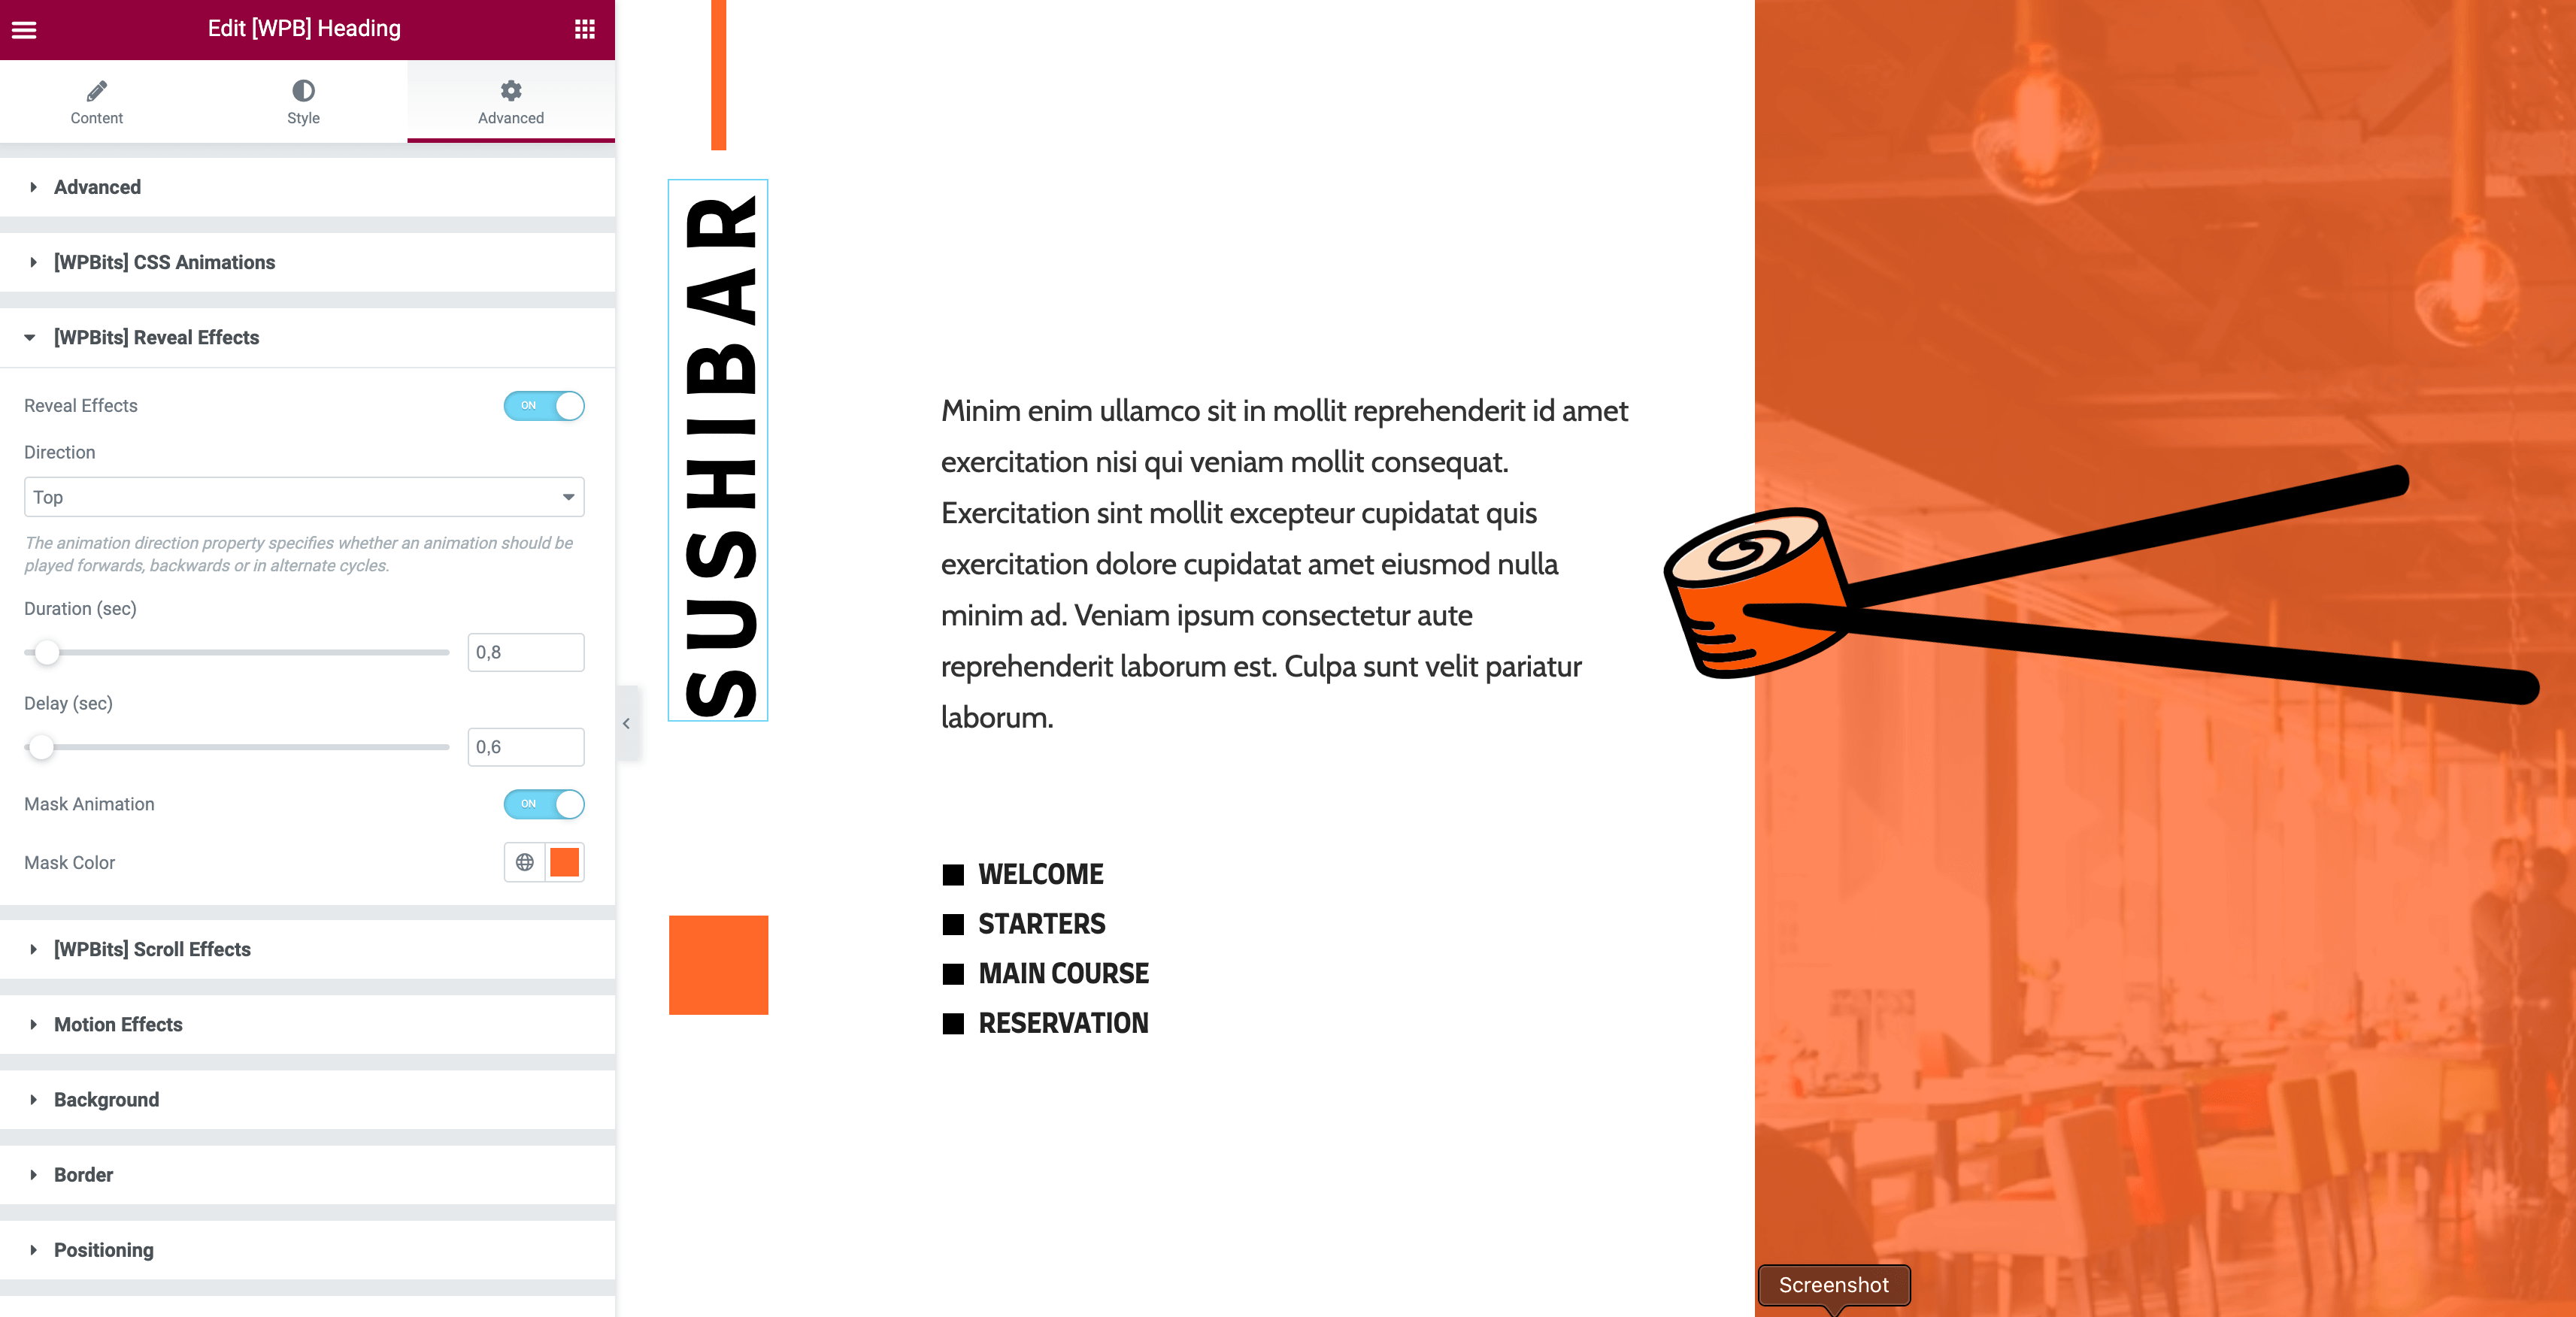
- Select an element and click the “Advanced” tab of the Elementor panel.
- Enable the feature from the [WPBits] Reveal Effects section.