

Custom Icon Upload
Custom Icon Upload lets you replace the default block icon with your own custom image.
Supported Formats
Section titled “Supported Formats”| Format | Recommended |
|---|---|
| SVG | ✅ Yes |
| PNG | ✅ Yes |
| JPG | ✅ Yes |
| GIF | ✅ Yes |
Uploading Icons
Section titled “Uploading Icons”Step 1: Select Block
Section titled “Step 1: Select Block”- Open the block in WPBits Block Studio
- Go to the General tab
- Find the Icon section
Step 2: Choose Icon Source
Section titled “Step 2: Choose Icon Source”- Click the Icon field
- A popup will appear with two tabs:
- Dashicons — WordPress built-in icons
- Custom Icons — Your uploaded icons
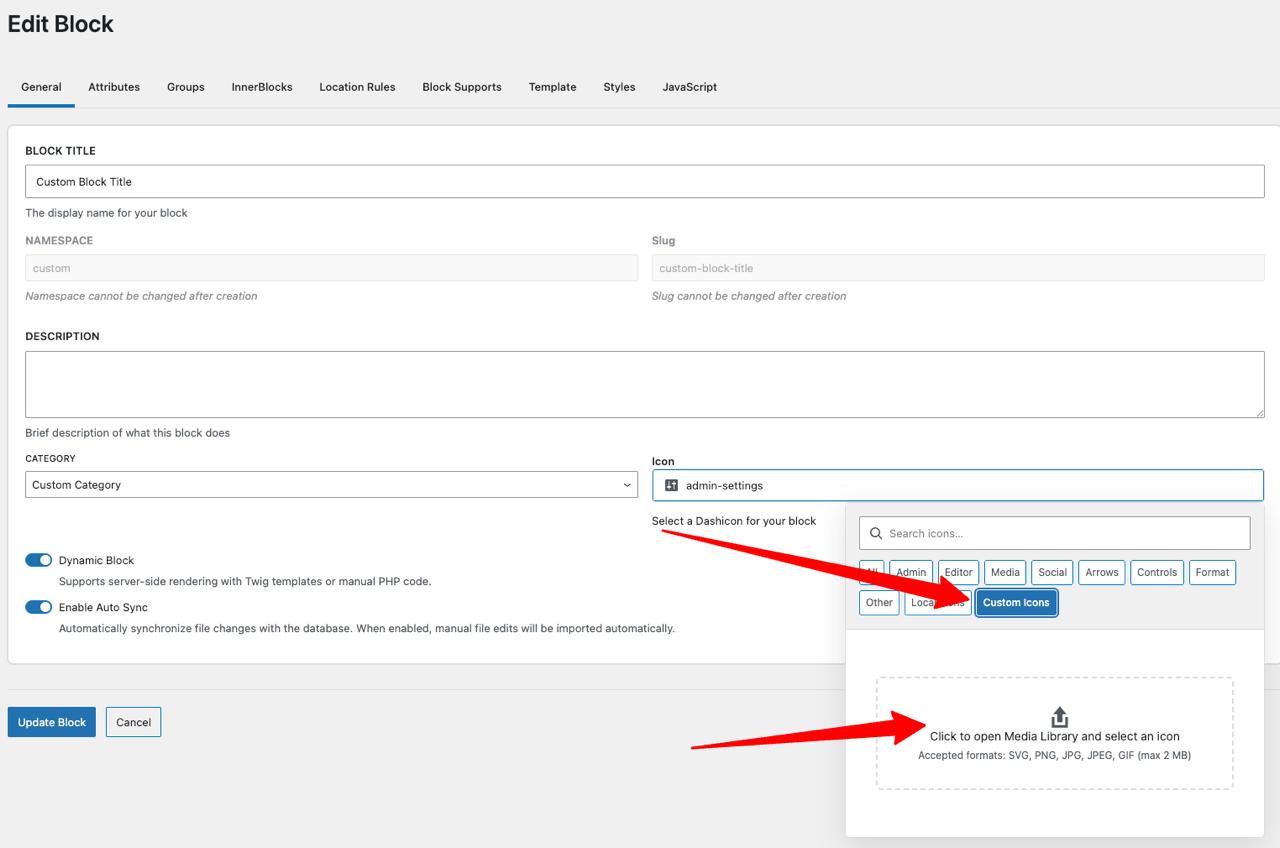
Step 3: Upload Custom Icon
Section titled “Step 3: Upload Custom Icon”- Click the Custom Icons tab
- Click Upload or select from Media Library
- Choose SVG, PNG, JPG, or GIF file
- Click Select
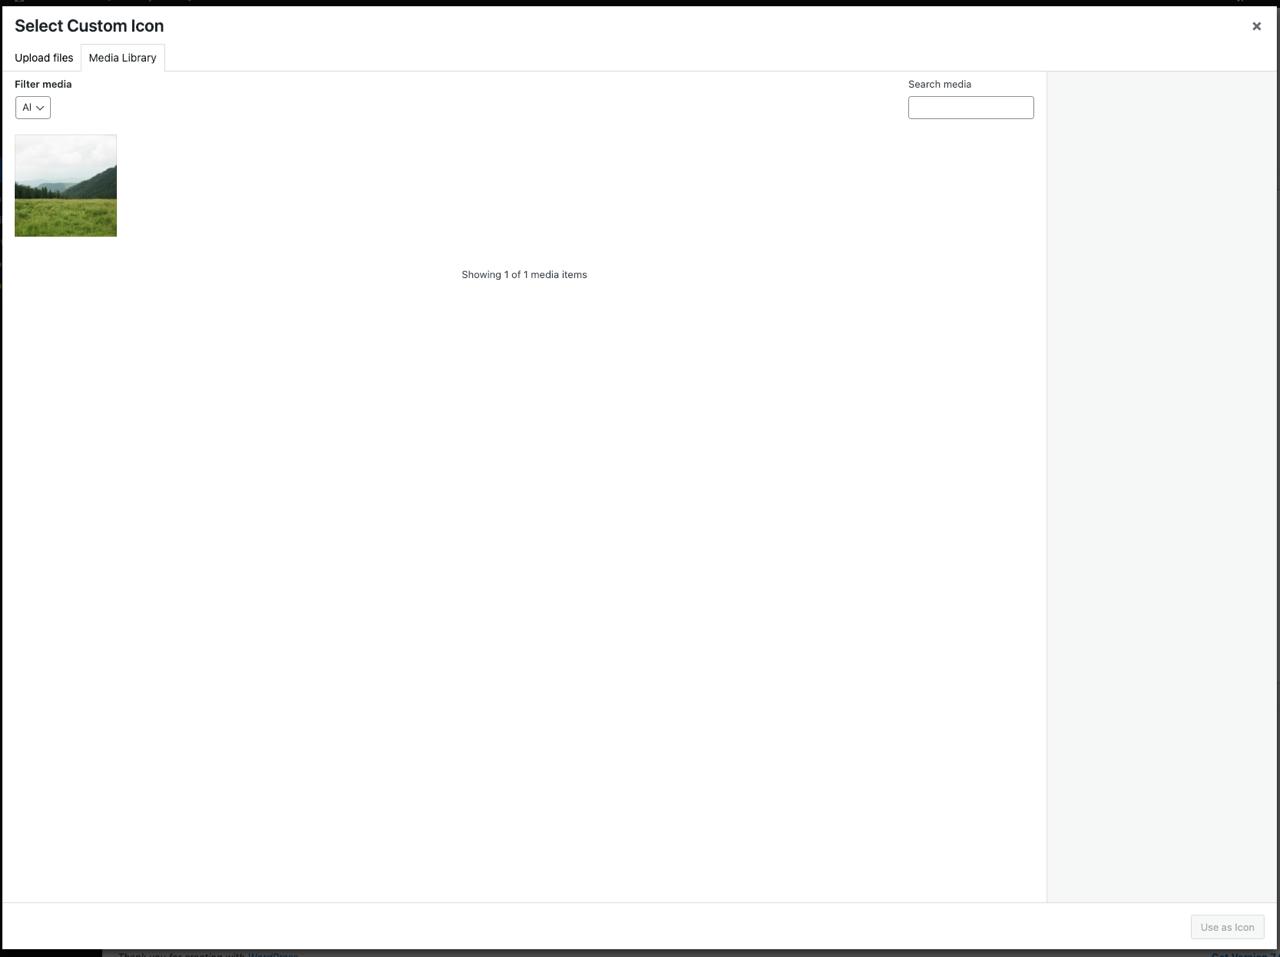
The icon will appear in the block settings.
Icon Guidelines
Section titled “Icon Guidelines”Recommended Size
Section titled “Recommended Size”- 512x512 pixels for PNG/JPG/GIF
- SVG scales automatically
File Size
Section titled “File Size”- Keep under 50KB for best performance
Troubleshooting
Section titled “Troubleshooting”SVG Upload Not Working
Section titled “SVG Upload Not Working”If SVG uploads fail:
- Install a plugin like Safe SVG to enable SVG support
- Or use PNG/JPG format instead
Next Steps
Section titled “Next Steps”- Export as Plugin — Export blocks as standalone plugins
- Upgrading to Pro — All Pro features